
3 MINUTE READ
Does your company have multiple people in charge of handling finances or need a developer to help you integrate borderless™? With the help of LastPass, your borderless™ account can have multiple users. Read on to find out how to create a LastPass account and allow multiple people to access your borderless account today!
Multi-user access is not currently built-in into the borderless™ platform however we have a recommended tool, LastPass, for you to enable others access to your account while keeping your account secure and credentials private. It provides you with the ability to give your accounting, admin or developer team access to our dashboard in order to request payments, make payments or integrate borderless™ into your application.
What is LastPass, and how to create a multi-user account access for borderless™?
LastPass is a secure password manager that enables you to store usernames and passwords from all other sites and accounts in one place. Once you install the plugin for your browser or install the app on mobile, LastPass will autofill in the username and password section when you log in to an account.
The purpose of LastPass is to simplify the login process and share login information with others. You can share login information with coworkers or employees, allowing them to log in to a desired account, like your borderless™ account without them actually knowing what the login credentials are.
Here is how to allow a colleague to manage your borderless™ dashboard:
Step 1: Create a LastPass Account
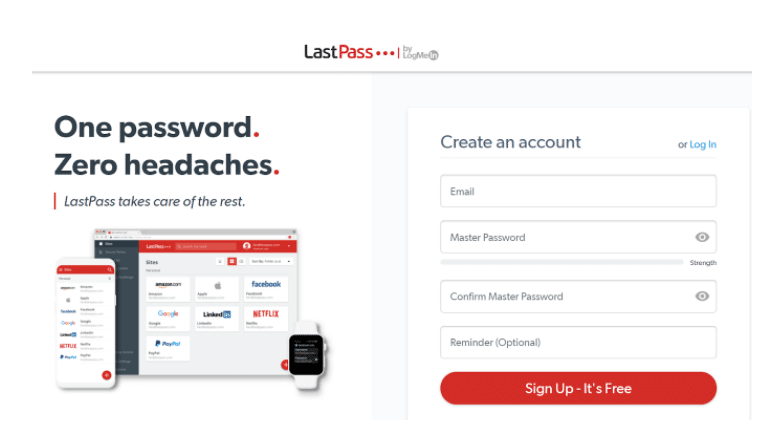
Creating a LastPass account is simple, fast, and free.
- Click this link and enter your email address and a master password. The master password, should be long & secure since it will protect your borderless™ account’s login information.
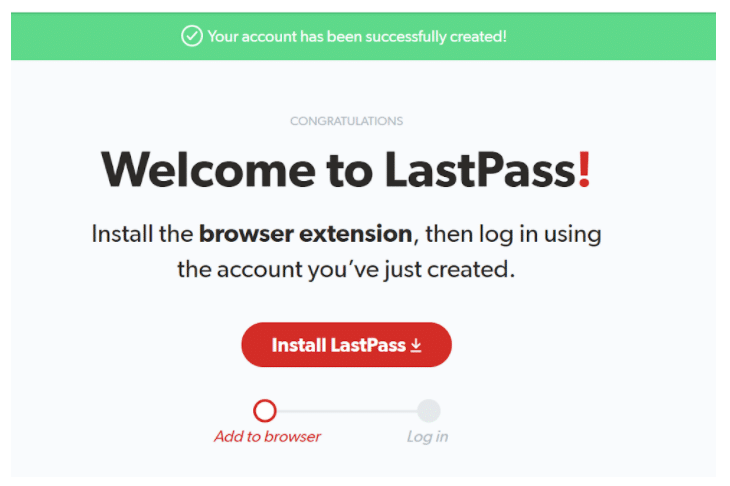
- Once your account is created, you will need to install the browser extension for LastPass. The extension will auto-fill the login information in the relevant fields when logging in to your linked accounts. Press the “Install LastPass” button and follow the on-screen instructions to install the extension.
- Now that you have installed the browser extension, you must login to LastPass with the account credentials you just made. Once this is successfully completed, you should see the below icon next to the search bar of your browser. This means that LastPass is active and ready to be used!

Step 2: Invite Your Colleagues to Manage Your borderless™ Dashboard
Now that you have created your LastPass account, installed the browser extension, and logged in, you are ready to begin linking your borderless™ account.
Follow the steps below to learn how to do so in just minutes.
You can skip step 1, 2 and 3 below if the browser extension is on and you just login to the borderless dashboard. LastPass will execute step 1, 2 and 3 for you automatically.
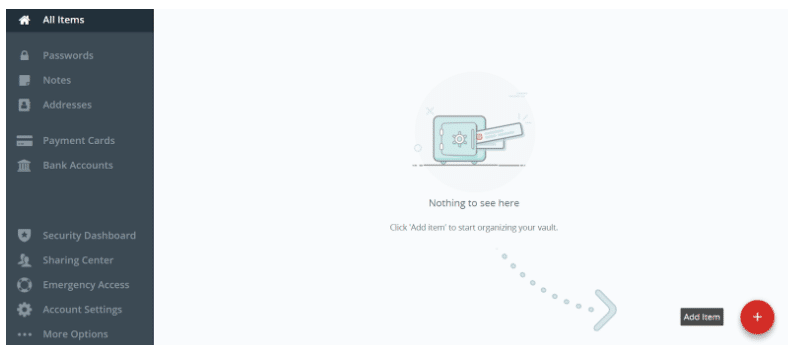
- On the LastPass website, once you have logged in, you should see the following screen. As prompted, click the “Add Item” button, then click “Password”.
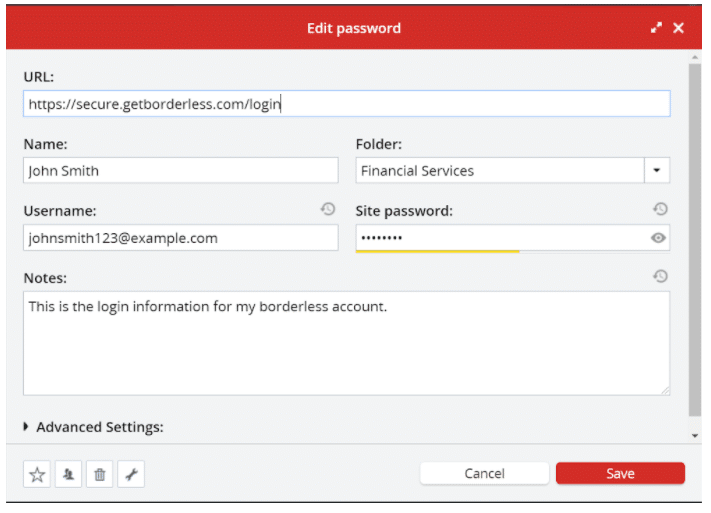
- You will now see a screen that allows you to enter a bunch of information: site URL, name, username, site password, folder, & notes. This is where you can add a linked account for a specific website: you just need to add the login information for that website into the respective fields, as well as copy the URL from the site that you are linking to LastPass. The Folder and Notes sections are optional and intended to help keep your linked accounts organized.
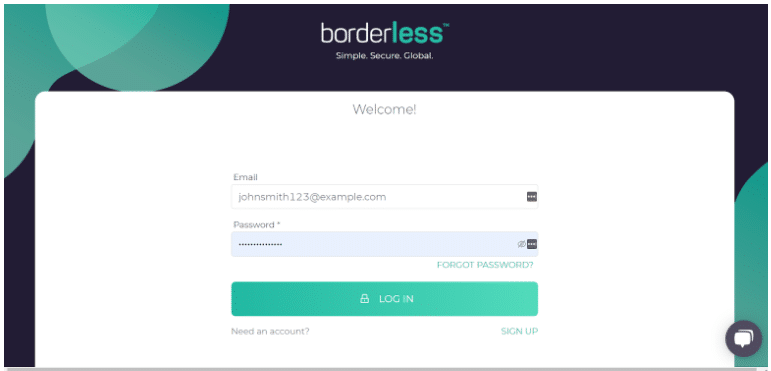
- Your borderless account’s login information is now connected to LastPass. If you are logged in to your browser extension, LastPass will now auto-fill the login information when you navigate to the borderless login page, and it will appear like this, with the LastPass logo.
- Finally, in order to share the login credentials with a coworker, press the little “Share” icon with two people on it. It is located at the bottom of the Edit Password page (See image on step 2). You can then enter your coworker’s email address, choose to allow them to view the password or not, and press “Share”. We recommend that you do not allow recipient to view password.
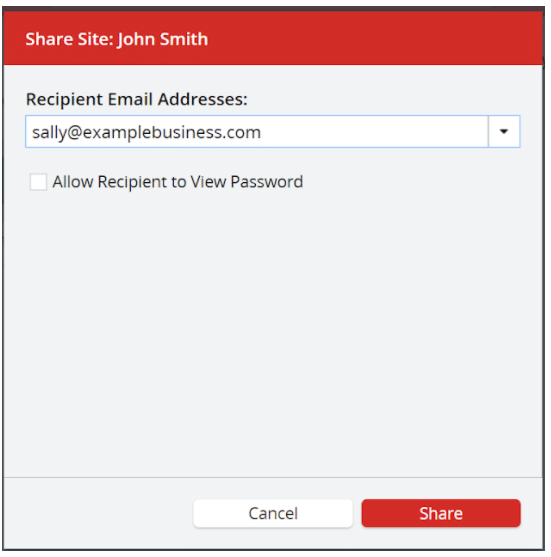
- They will then get an email that prompts them to create a LastPass account and access the shared borderless account using LastPass!

With LastPass, you and your coworkers will now be able to use your borderless™ account with multiple users seamlessly, protecting your privacy by preventing you from having to share the password associated with the account.
Don’t have an account with borderless™ yet? Sign up or book a demo today to begin making & accepting simple, secure, and affordable international and local payments!